Stable Diffusion Videos 0.6 : 概要 🎨 (翻訳/解説)
翻訳 : (株)クラスキャット セールスインフォメーション
作成日時 : 11/15/2022
* 本ページは、nateraw/stable-diffusion-videos の以下のドキュメントを翻訳した上で適宜、補足説明したものです:
* サンプルコードの動作確認はしておりますが、必要な場合には適宜、追加改変しています。
* ご自由にリンクを張って頂いてかまいませんが、sales-info@classcat.com までご一報いただけると嬉しいです。

- 人工知能研究開発支援
- 人工知能研修サービス(経営者層向けオンサイト研修)
- テクニカルコンサルティングサービス
- 実証実験(プロトタイプ構築)
- アプリケーションへの実装
- 人工知能研修サービス
- PoC(概念実証)を失敗させないための支援
- お住まいの地域に関係なく Web ブラウザからご参加頂けます。事前登録 が必要ですのでご注意ください。
◆ お問合せ : 本件に関するお問い合わせ先は下記までお願いいたします。
- 株式会社クラスキャット セールス・マーケティング本部 セールス・インフォメーション
- sales-info@classcat.com ; Web: www.classcat.com ; ClassCatJP

Stable Diffusion Videos 0.6 : 概要
Stable Diffusion を使用して潜在空間を探索してテキストプロンプト間でモーフィングすることにより 🔥 動画を作成します。
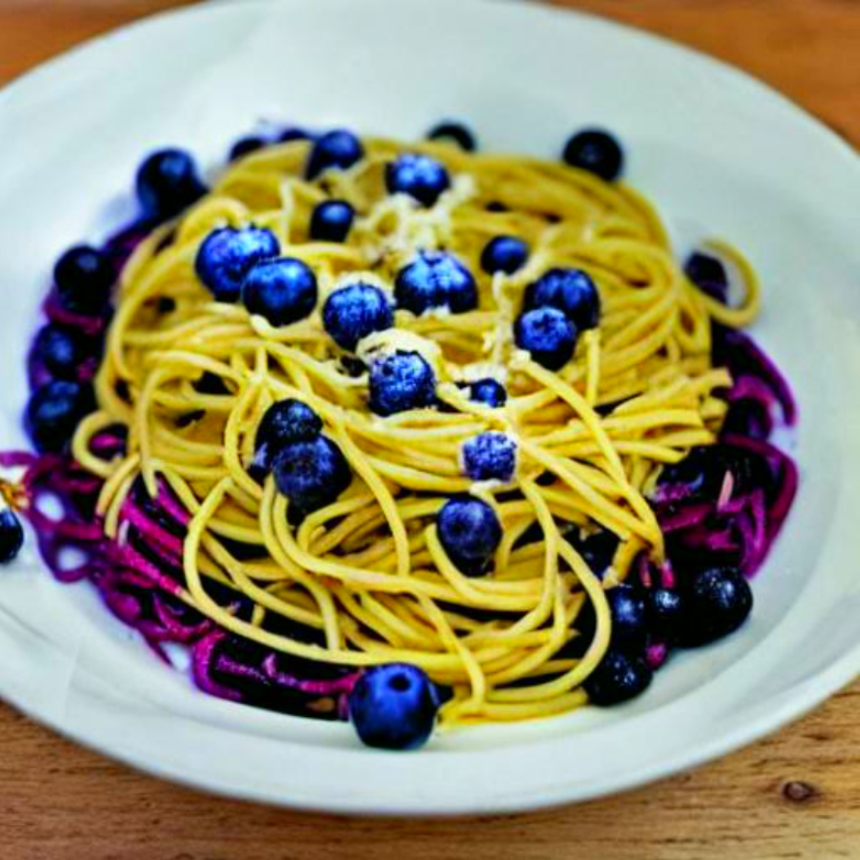
Example – “blueberry spaghetti” と “strawberry spaghetti” 間でモーフィングします。
How it Works
Notebook/App
in-browser Colab デモ は Stable Diffusion の潜在空間を補間することにより動画を生成することを可能にします。
同じプロンプトの異なるバージョンを思い描いたり、異なるテキストプロンプト間でモーフィングすることができます (再現性のためにそれぞれにシードが設定されています)。
アプリケーションは Gradio で構築されています、これは web app のモデルと相互作用することを可能にします。ここに (提案する) それを使用する方法があります :
- 好きな画像を生成するために “Images” タブを使用します。
- その間でモーフィングしたい 2 つの画像を見つけます。
- これらの画像は同じ設定を使用する必要があります (ガイダンス・スケール, スケジューラ, height, width)。
- 使用したシード/設定を記録すれば再現できます。
- “Videos” タブを使用して動画を生成します。
- 上記のステップから見い出した画像を使用して、記録したプロンプト/シードを提供します。
- num_interpolation_steps を設定します – テストのためには 3 や 5 の小さい数を使用できますが、素晴らしい結果を得るにはより大きな値を (60 – 200 ステップ) 使用するべきでしょう。
- output_dir をセーブしたいディレクトリに設定できます。
Python パッケージ
Setup
パッケージをインストールします :
pip install -U stable_diffusion_videos
Hugging Face を使用して認証します :
huggingface-cli login
動画作成
from stable_diffusion_videos import StableDiffusionWalkPipeline
import torch

pipeline = StableDiffusionWalkPipeline.from_pretrained(
    "CompVis/stable-diffusion-v1-4",
    torch_dtype=torch.float16,
    revision="fp16",
).to("cuda")

video_path = pipeline.walk(
    prompts=['a cat', 'a dog'],
    seeds=[42, 1337],
    num_interpolation_steps=3,
    height=512,  # use multiples of 64 if > 512. Multiples of 8 if < 512.
    width=512,   # use multiples of 64 if > 512. Multiples of 8 if < 512.
    output_dir='dreams',        # Where images/videos will be saved
    name='animals_test',        # Subdirectory of output_dir where images/videos will be saved
    guidance_scale=8.5,         # Higher adheres to prompt more, lower lets model take the wheel
    num_inference_steps=50,     # Number of diffusion steps per image generated. 50 is good default
)
ミュージックビデオの作成
New! 音声ファイルへのパスを供給することで動画に音楽を追加できます。音声は interpolation のレートを知らせますので、動画はビートに合わせます 🎶
from stable_diffusion_videos import StableDiffusionWalkPipeline
import torch

pipeline = StableDiffusionWalkPipeline.from_pretrained(
    "CompVis/stable-diffusion-v1-4",
    torch_dtype=torch.float16,
    revision="fp16",
).to("cuda")


# Seconds in the song.
audio_offsets = [146, 148]  # [Start, end]
fps = 30  # Use lower values for testing (5 or 10), higher values for better quality (30 or 60)

# Convert seconds to frames
num_interpolation_steps = [(b-a) * fps for a, b in zip(audio_offsets, audio_offsets[1:])]

video_path = pipeline.walk(
    prompts=['a cat', 'a dog'],
    seeds=[42, 1337],
    num_interpolation_steps=num_interpolation_steps,
    audio_filepath='audio.mp3',
    audio_start_sec=audio_offsets[0],
    fps=fps,
    height=512,  # use multiples of 64 if > 512. Multiples of 8 if < 512.
    width=512,   # use multiples of 64 if > 512. Multiples of 8 if < 512.
    output_dir='dreams',        # Where images/videos will be saved
    guidance_scale=7.5,         # Higher adheres to prompt more, lower lets model take the wheel
    num_inference_steps=50,     # Number of diffusion steps per image generated. 50 is good default
)
アプリケーションをローカルで実行
from stable_diffusion_videos import StableDiffusionWalkPipeline, Interface
import torch

pipeline = StableDiffusionWalkPipeline.from_pretrained(
    "CompVis/stable-diffusion-v1-4",
    torch_dtype=torch.float16,
    revision="fp16",
).to("cuda")

interface = Interface(pipeline)
interface.launch()
以上